

- No products in the cart.

New Freebrake Footbrake Brake Soles
Max Kaye has probably spent the most time in Europe of anyone on the Flatspot team. Not only touring the event scene, but just living there and being an EU “local” to the longboard community. One of the brands he told me we needed to carry was Freebrake. He said the brake soles were second to none. Max was forced to come back to BC for the kick off of this new normal. When he got home, he ordered a box of Freebrake and brought it to the shop and made me stock it. Ha Ha, very Max. Big heart for the shop and the community everywhere.
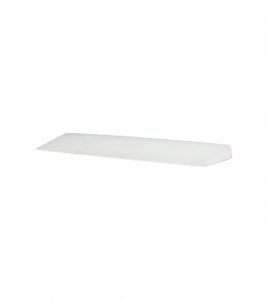
Have you heard of Freebrake Footbrake soles? Check them out…
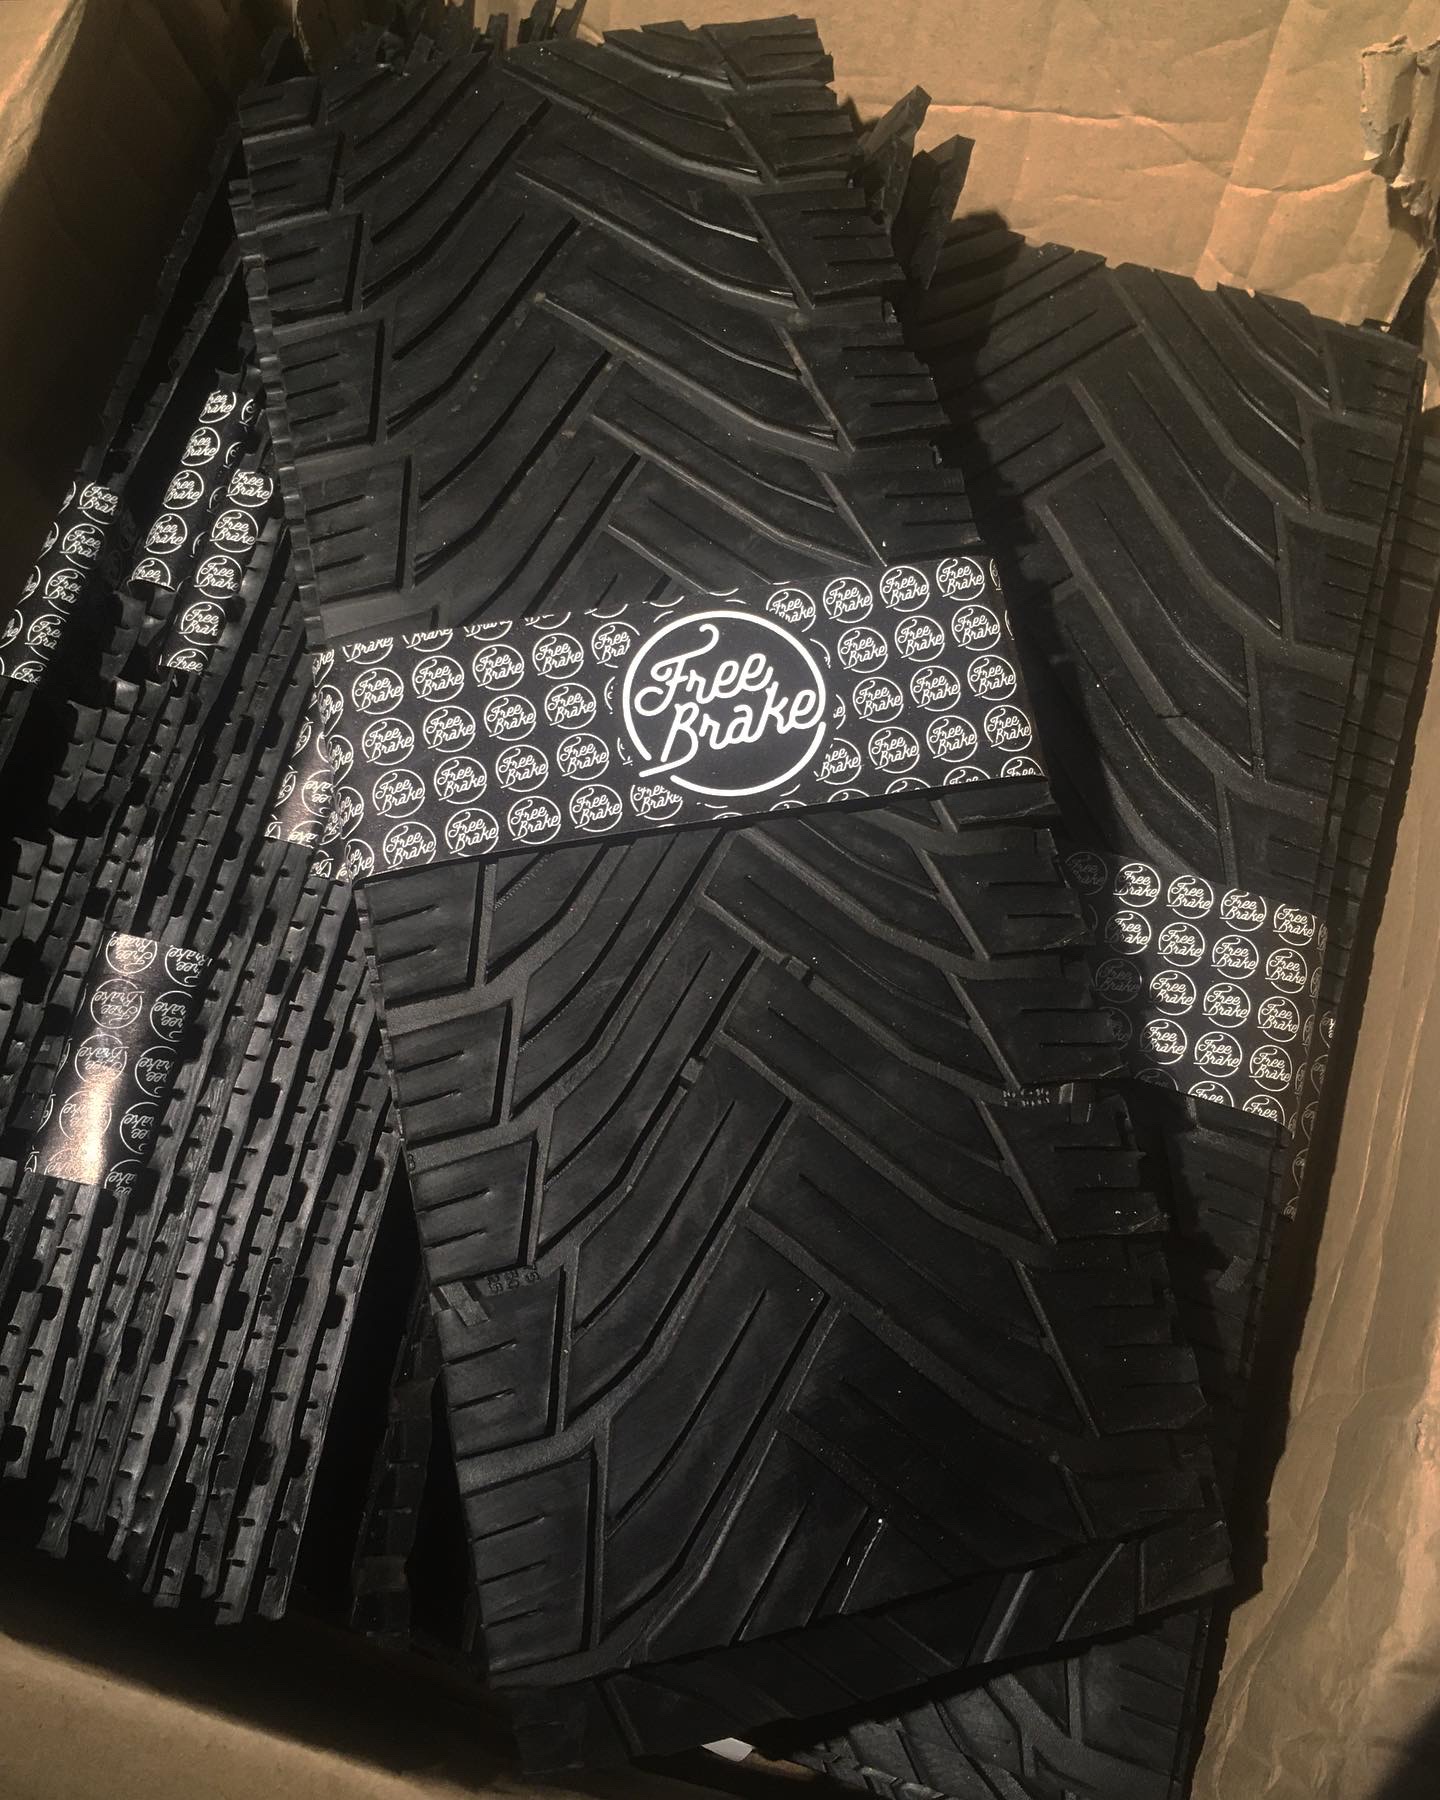
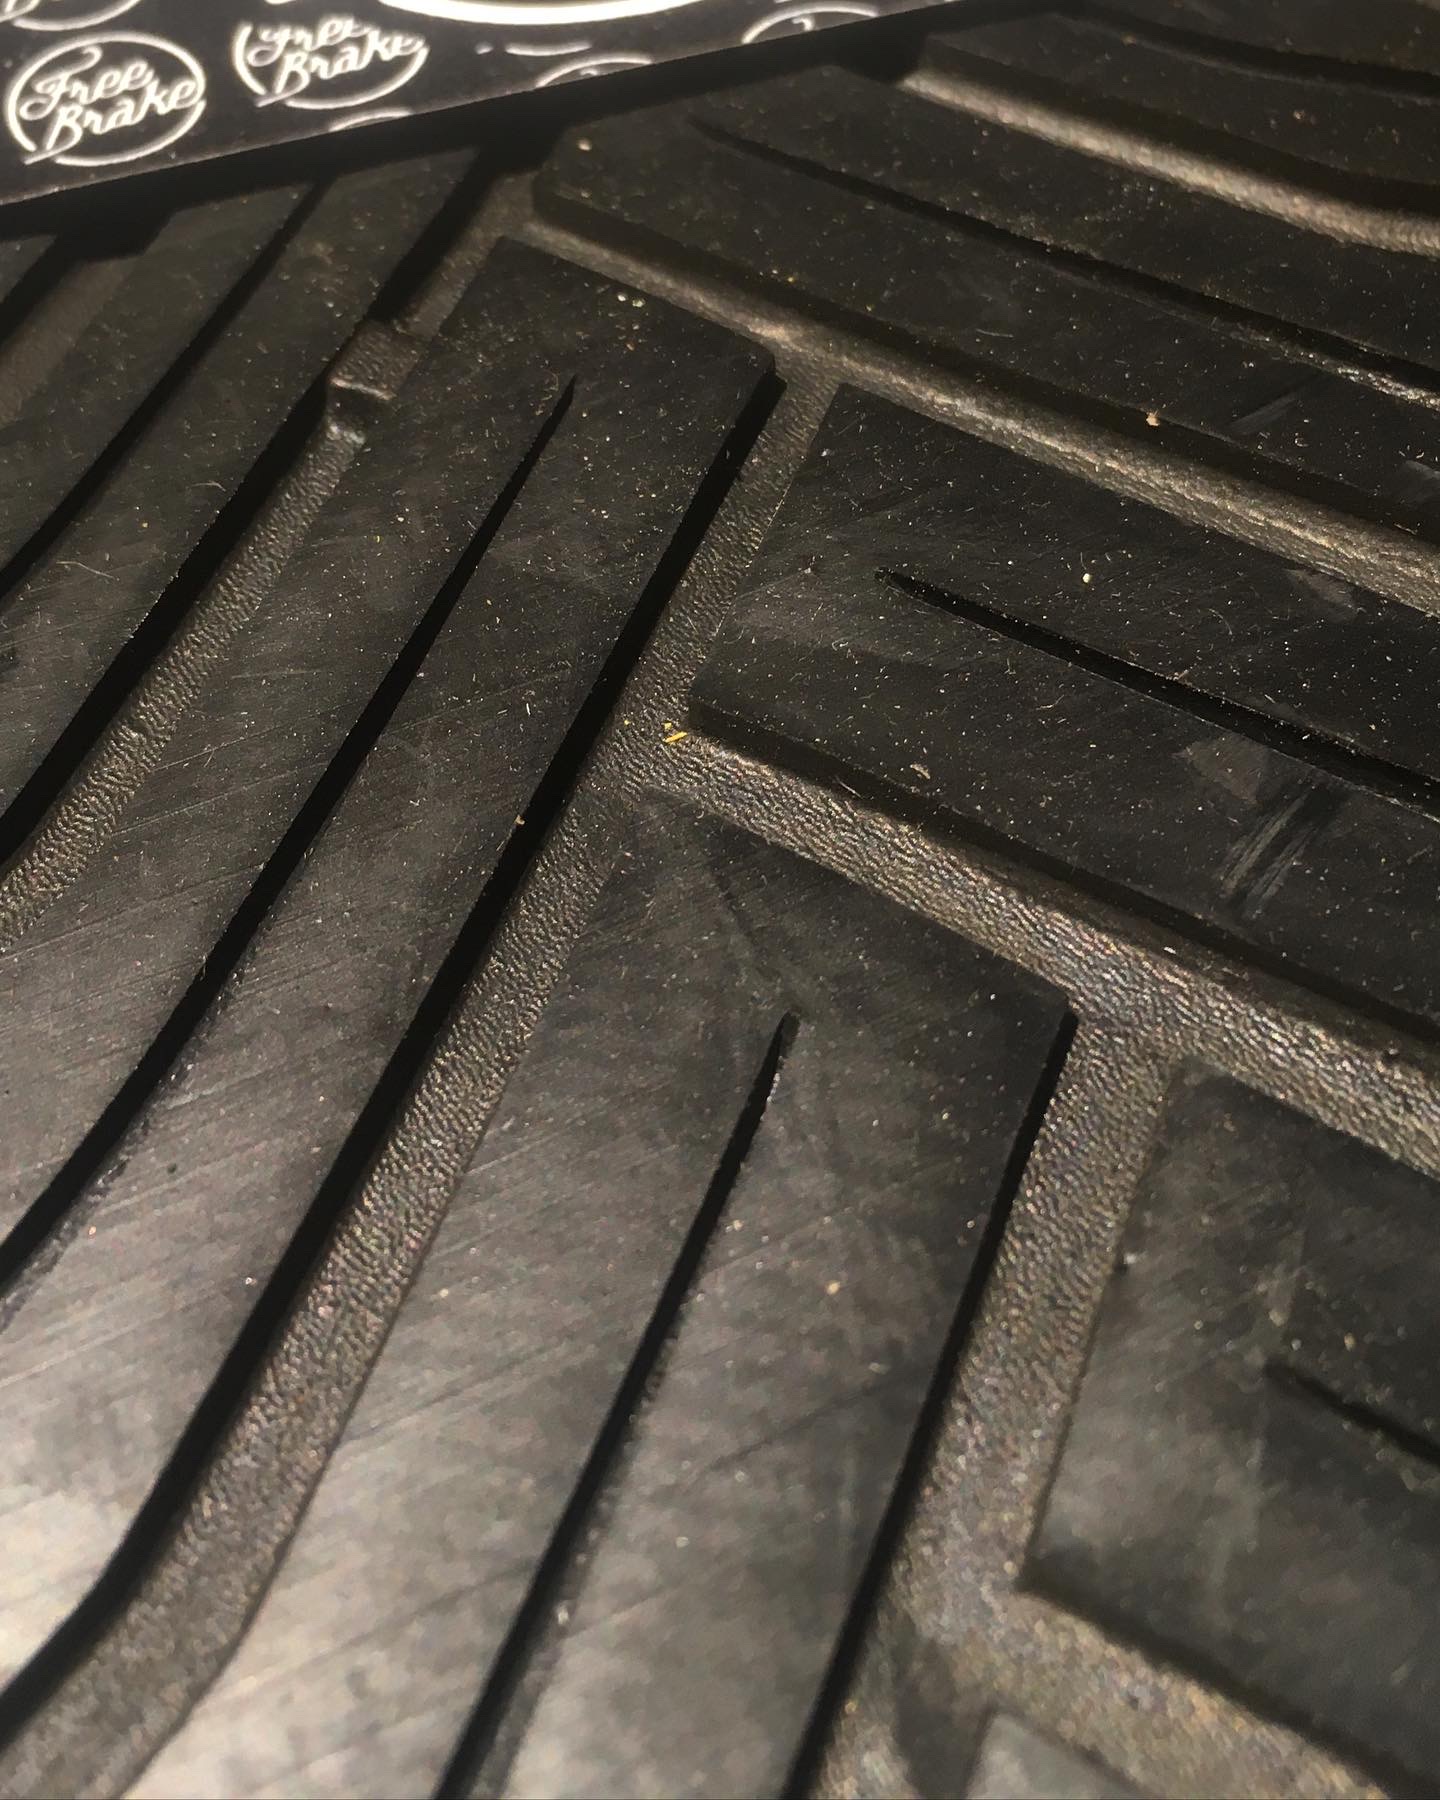
Freebrake soles are basically like a tire tread for your shoe. They’re a better tool to do the footbraking job than a basic shoe sole. It doesn’t matter what brand of shoe you find most comfortable, an aftermarket brake sole can go on any shoe.
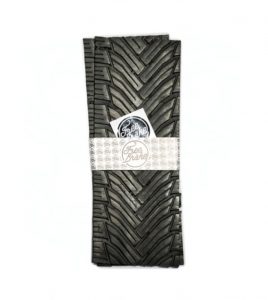
*While they can go on a used shoe, we recommend using a new shoe, and adding the brake sole fresh, versus wearing out a shoe and adding a sole later.
Ultimately, your shoes aren’t designed for downhill skateboarding and longboarding. They’re designed poorly for street and bowls skating too, if we’re being honest.
Ever heard of Brooklyn Workshop? Shoes made just for longboarders! They failed…. Landyachtz tried to make a shoe once back in 2008 or 2009 too. There’s a Concrete Wave advertisement out there somewhere, we’ve seen it. Big shoe has definitely gotten in on the skate game. Capitalists want to profit off selling shoes to the people blowing through shoes most. Don’t fall for it. Get yourself some footbrake soles and keep your soul, and your cash.

Not sure how to put a footbrake sole on your show? Freebrake instagram has some tutorials. The gist of it… clean, scuff, glue, cure, trim, glue, cure, skate. The more meticulous you are the better they will work.
- Clean the sole of your shoe, and the Freebrake sole with some solvent, we like Isopropyl Alcohol 99.9%, Acetone works too. Ensure the solvent is evaporated and dry before moving on.
- Once clean, you want to scuff up the shoe sole and Freebrake sole a bit so that it has more rough surface to glue. If it’s too shiny and smooth, it doesn’t stick as well.
- Apply glue to both the shoe sole and the brake sole. Let it get tacky, follow the manufacturers instructions. We recommend using Shoe Goo on the main sole gluing and then some kind super glue product on the edges later.
- Attach the brake sole to the shoe sole. You will need to apply pressure to keep the two soles together. You can use some weights, clamps, heavy tape, whatever you got to keep the shoe sole pushed onto the brake sole and vice versa for at least 24 hours or as per the glue directions. We like to let it cure for a couple days. *DIY tip, park a car on the shoe if you have no clamps or means to weigh it down otherwise, but actually ha ha.
- Trim the extra brake sole away from the shoe with a knife. We also recommend using some sand paper or a file and giving the edges a blast to ensure there aren’t any odd edges that might catch.
- Re-glue, this time youre doing just the edges of the brake sole and shoe sole where they come together to ensure a solid edge bond, again so that nothing catches and the brake sole is fully one with your shoe. Let it cure.
- Skate. Foot brake your life away. Smoke shoe.
That’s about it. If you have any question, check the details below and get in touch!
Just remember, sliding is sooooo 2011…
If you haven’t found what you’re looking for, be sure to check out our full selection in our web store. We’ve got one of Canada’s largest selection of decks and completes ready to ship worldwide.
If you have any questions please feel free to shoot us an email at info@flatspotlongboards.com, message us on facebook, or call at 604 899 8937!
Featured Products
-
-
-
 Arbor – Pocket Rocket AC – Complete$195.00CAD